FROM COMBAT SPORT TO STREET FIGHT, Part 2 - Matt Jones
This article is part two of a series on how to take your combat sport or martial art skills and tweak them for the street. Hopefully you read and enjoyed part one of this series, because here in part two we’re going to cover the nuts and bolts of edgedweapon defence.
Few topics generate so much debate as how to defend empty-handed against an edged weapon, but these simple drills can be applied to any system and allow you to discover what works for yourself. Bridging the gap from art & sport to real self-defence – part two.
BY MATT JONES
Here, I want to focus on giving you what I believe are the key points for consideration when it comes to edged-weapon defense. So here is a step-by-step breakdown of our ISOHEALTH edged weapons defense program.
Firstly, run away if you can. If you see someone attempting to draw a weapon and you can run away, then do so. If you can’t run away, then jam their deployment of that weapon as soon as possible. Don’t let them get it out and start coming at you. Instead, attack with all your might and keep control of that weapon while doing so. If someone is already brandishing an edged weapon and you can run away, then do so. If you can’t run, then try to level the playing field by using an improvised shield and/or weapon such as a briefcase, stick, torch, etc.
In class, I will sometimes get my students to use kick shields to help defend against an edged weapon, as the kick shield is representative of other objects like a briefcase, laptop, box, crate, duffle bag, etc. The kick shields work well because you can quite safely use them to strike your attacker too. If you drill defending against the knife with the kick shield (as shown at right) with light, medium and full resistance, you will fi nd what works for you and notice the strengths and weaknesses of various grips etc. If there is no way to run and no improvised weapon, it’s now just you and your empty hands against the attacker.
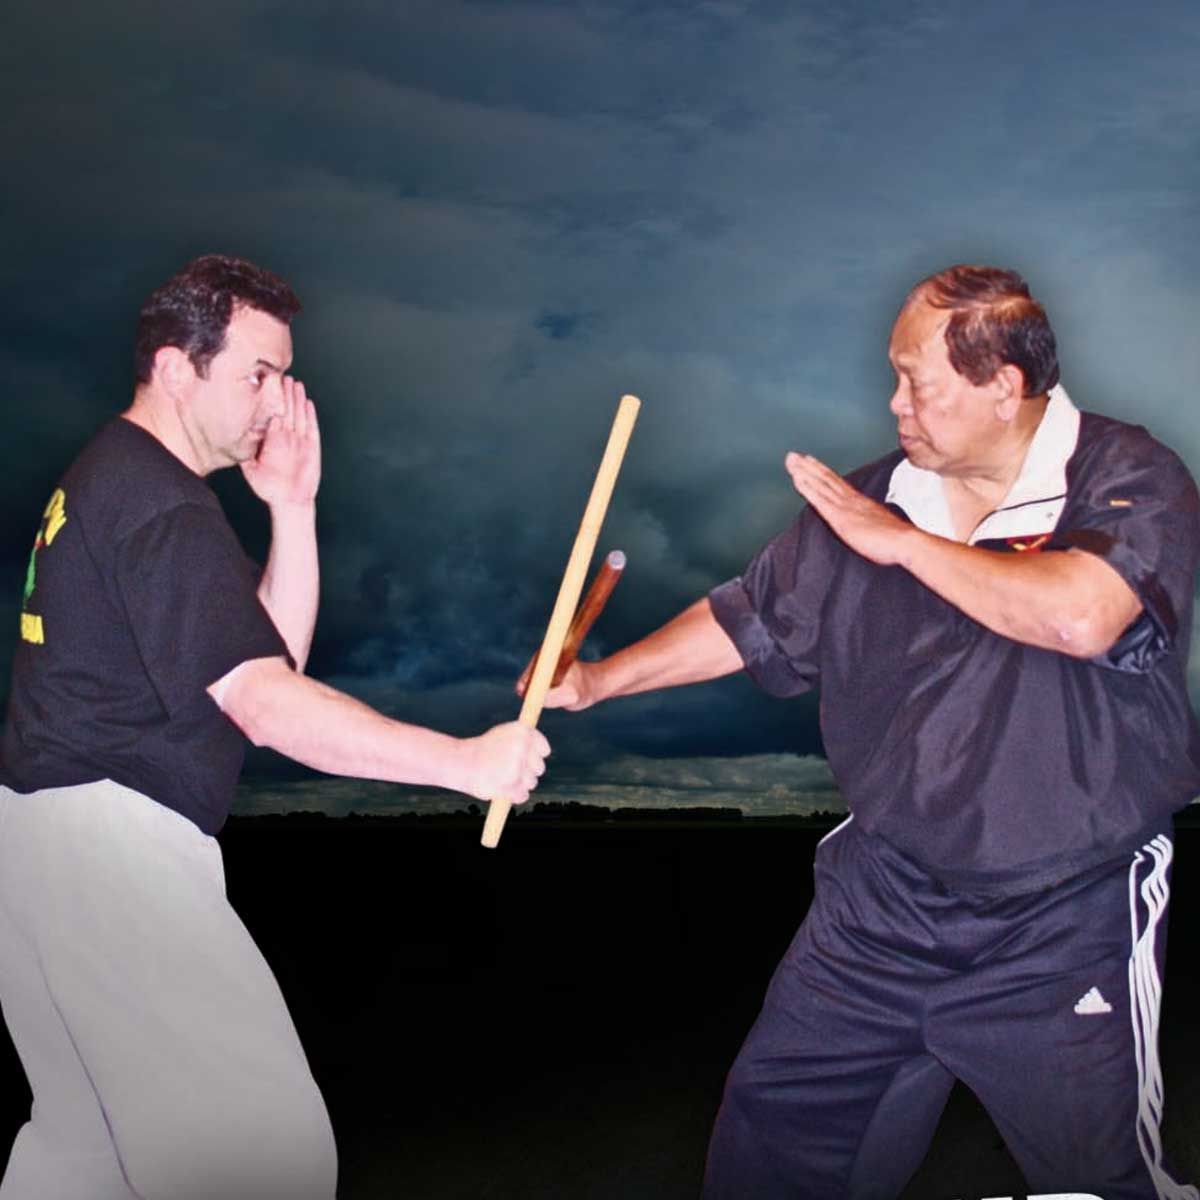
For facing a blade with empty hands, I’ve yet to see anything better than the conceptual framework of the Jim Wagner Knife Disarm Rule. This is something Jim personally taught me in Feb 2006 and to this day it’s still the best method I have found for empty-handed defense against a knife. I’m not saying it’s the only method that follows these concepts, but it’s the first one I ever saw that applied them and to this day they still hold up.
Jim’s Knife Disarm Rule goes like this:
Grab: Grab the weapon bearing limb with both hands.
Close: Close the distance between you and the attacker. If you stand back away from them while holding their arm, it won’t be long before they break free and you will have to start this whole process over again.
Takedown: Once you have secured their weapon-bearing limb, now look to take them down. Don’t do silly things like turn your back on them to secure a hip throw; just drive into and around them with lots of pressure, throw short knees at their legs and groin and get them to the floor, face down. Please note the takedown phase is not limited purely to taking the person down; here the term ‘takedown’ is used to describe any action you can take that will stop the initial attack long enough for you to flee to safety. If knees and biting will do it, then use knees and biting.
Escape: Flee; don’t hang around unless you have to. If you do have to hang around then you will have no choice but to incapacitate the attacker and then maintain control over them until help arrives. This is a life-or-death situation so don’t get fancy.
WHAT ABOUT LETTING GO?
I dislike the idea of letting go of the attacker’s arm with one hand so that you can strike or gouge. I feel this is a very risky tactic unless you already have them immobilized against a wall, the ground or managed to pin their limb with your body. You have worked so hard to achieve two-handed control over their weapon arm, why now risk them recovering by letting go with one hand?
I’m not saying it’s never viable, because sometimes it can work well, but at full resistance you will have a very hard time maintaining control of the attacker’s weapon arm with just one of your own hands. Therein lies the problem with most knife defense methods — they are not trained under full resistance against an opponent who is thrashing around intent on getting their arm back to have another stab at you! If you do opt to let go with one hand to start striking or gouging the attacker, then you’d better make darn sure that you attack them so effectively that they don’t manage to break free.
I believe that closing range and achieving the two-on-one grip is almost always the hardest and most dangerous part of the knife defense process, so why risk having to start this whole process all over again by releasing one of your grips?
At ISOHEALTH we use whizzer-style takedowns from the two-on-one hold, as well as knees and biting, slamming the attacker into a wall, getting them to floor pinned, etc. Once they are pinned, now we can release one of our grips to start inflicting strikes/gouges, but we always do our best to maintain a two-handed grip on the attacker’s knife-bearing arm. If you establish the 2-on-1 and you have the option to flee, you can even just bump the attacker really hard and then run; you’d be amazed how much distance you can put between you and an attacker using this method.
Above all else, try to maintain strong control over the attacker’s weapon-bearing limb until you know they can no longer hurt you with it. Over the countless times I’ve taught this method (close, grab, takedown, escape) I’ve been able to add refinements and details that help us constantly tighten up our approach: Create a wide surface area for your blocking/jamming structure.
Some time ago I developed what I call the A-frame’ or the ‘stick-figure house’. This is a jamming structure that is very solid and covers a great surface area, and as such takes a lot of the guesswork out of your knife defense blocking/jamming structure. Close the gap as soon as possible; the more stabs and slashes you let your opponent take at you, the more chance you have of getting cut. Get in there ASAP and get that two-on-one grip. When you take the twoon-one it may end up being an ‘outside two-on-one’ or an ‘inside two-on-one’ (see examples on the right hand side of this page). Either way, make sure your arm nearest the opponent’s armpit (we call this your inside arm) is an under hook; then use your outside arm to control the attacker’s wrist as best you can.
With the two-on-one, just take what comes; don’t force it to deliberately hunt for an outside or inside two-on-one; just take whatever is available right away and get the job done as quickly as possible. Traction the attacker’s arm, sink your weight into their arm and shoulder, and sag your weight so that you’re dragging their shoulder toward the fl oor. This greatly assists in restricting their movement. Always circle toward their back when you have the inside two-on-one; this is crucial to reducing the chance of the attacker swapping hands with the blade. With the outside two-on-one you will need to circle so that you are driving your inside shoulder toward the fl oor; once again this will reduce the chance of the attacker switching the blade into the other hand.
With your two-on-one you will often fi nd that your control will be tighter if you drive your head tightly in against the attacker’s shoulder. If you can keep the attacker’s arm stretched out straight then you will have much greater leverage and control over them than if you let them keep the arm bent. It’s not always possible but is certainly something to aim for. When you drill this material, start by just practising the initial blocking/jamming phase. Jim Wagner refers to this phase of drilling as the ‘knife avoidance exercise’. It’s extremely benefi cial to practise this portion before moving onto the grab, the two-on-one, etc. When drilling the knife avoidance exercise, just start out slow but make sure that the attacks are random and make sure that the attacker is actually trying to make contact. Ensure you wear eye protection and use a soft rubber or foam training knife. Practise the drill by going roughly 10 for 10 (i.e. you stab and slash at your partner 10 times then they stab and slash at you 10 times). Gradually increase the speed and ferocity of the drill until you are doing bursts of 5–15 stabs and slashes at full speed and full contact, always ensuring you keep things random and realistic. Once you feel comfortable with this range, start adding the grab and the takedown, etc.
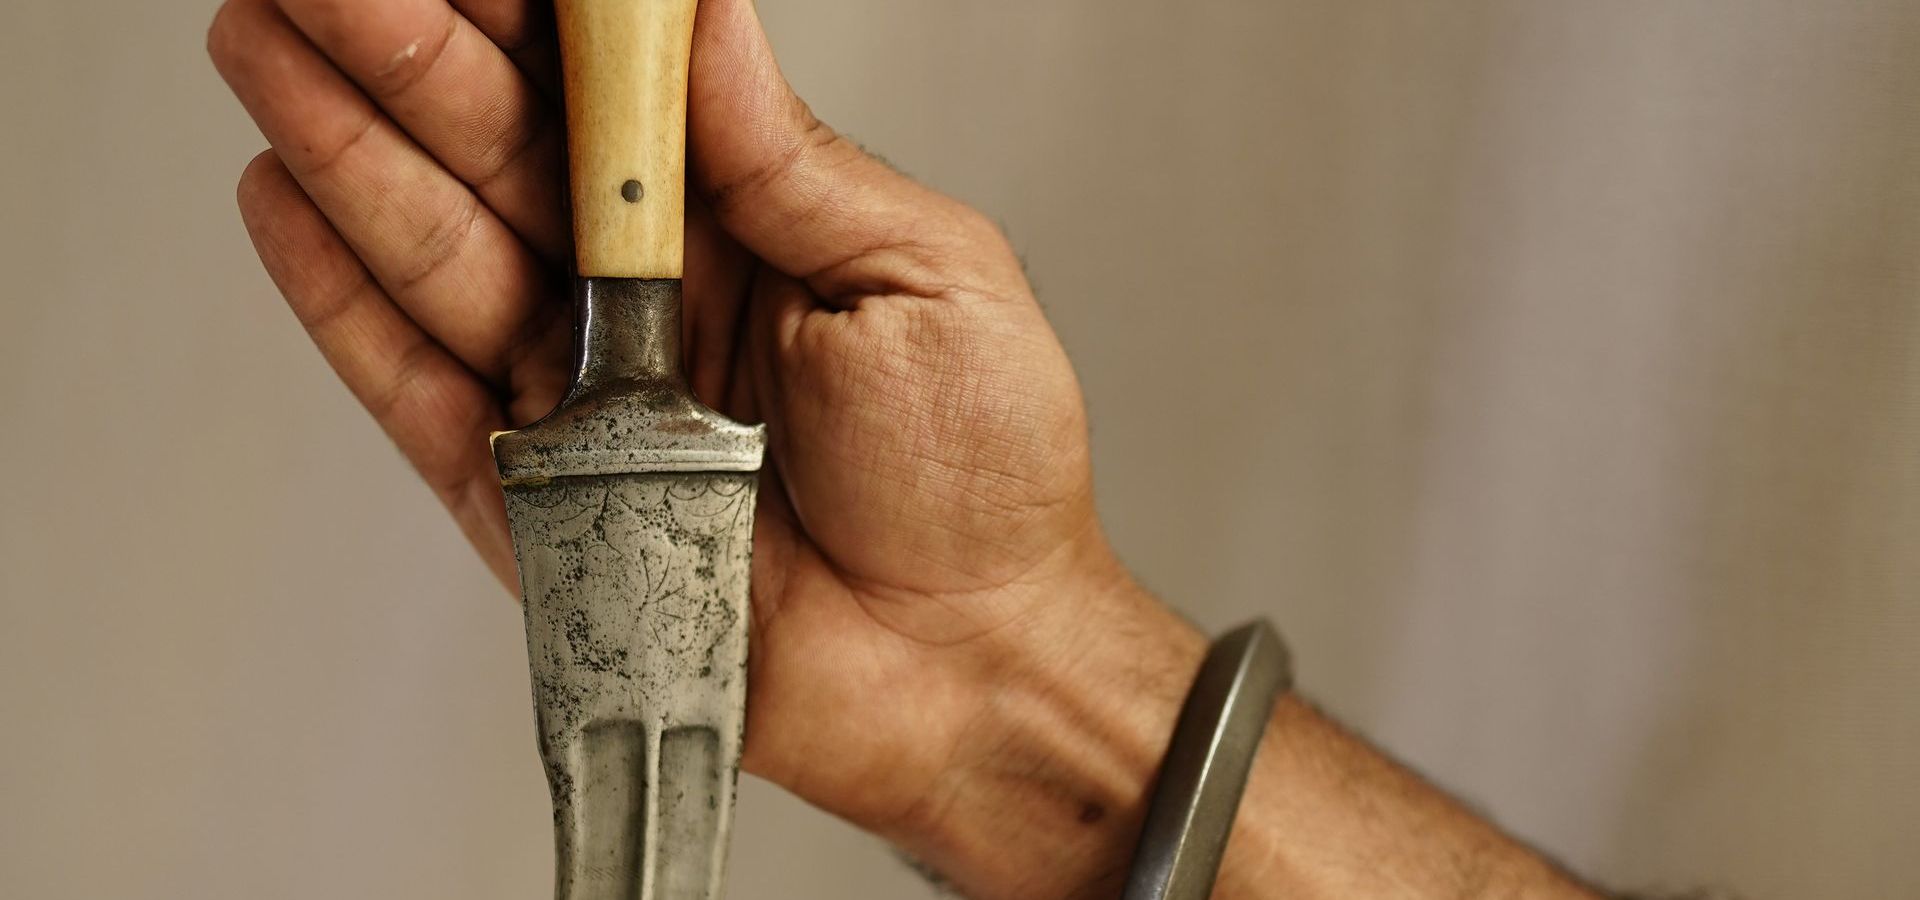
Once again, start out slow and spend some time isolating the takedown portion so you get a good feel of that element. Eventually you can put it all together, once again starting slow and then gradually working up to full speed again. Don’t forget to add other elements like using marking blades. Marking blades are simply safe training knives marked with lipstick or chalk (see photo below, right). Stage blood is another great addition to your equipment list to help you get accustomed to seeing blood and feeling the slipperiness it creates. Also include patting yourself down once you’ve fl ed to safety to check for wounds prior to simulating a call to 000. It’s important to put all this together and do it more often than just once every few months — it should be a part of regular training. Check out my YouTube clips linked from the Blitz website to help you see this more clearly. I sincerely hope this material helps you be that bit safer in your training and real life.□
Blitz Martial Arts Magazine MARCH 2010 VOL. 24 ISSUE 03
SCROLL VIA CATEGORIES